Thursday, 26 January 2017

Portfolio

Charlie Long - Game Art Portfolio


Since a young age I have held a keen interest in video games and how they work, for the past few years I have been working on developing my drawing and digital skills in order to create pieces of work that can one day be used in a game.

As of the past year (2016-2017) I have been working on a project to create a 3D game for my college using software such as Photoshop, Maya 2016, unreal engine 4.12.5 and Autodesk mudbox. Here is some of the design process ranging from a few pieces of concept art to fully created digital objects:

Perspective Drawing


Killer Klownz From Outer Space Project

Concept Art


Digital Work - Killer Klownz Game


Random Doodles/Other Projects


Spaceship Project

Concept Art


Wednesday, 25 January 2017

Unit 66 - 67 3D Modelling Assignment 3 – Be able to create 3D models following industry practice


Human Character Model
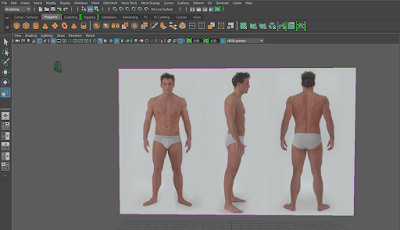

In order to start the creation of a 3D model a reference image is needed to help construct a model with respective proportions that are realistic, and therefore an image plane is created which provides the modeller to have a 2D image on the Maya workstation that they can work off of. Here you can see my image plane as a reference, created by going into the create tab and adding a photo from file that i had already collected.

Using a cylinder polygon and adding subdivisions to turn it into a octagonal cylinder which is much easier to work with. After doing this i then matched up the outline of the polygon to the reference image to get the correct height for the torso.


Using the scale and move tool i then moved each row of vertices of the octagonal cylinder to match up to the dimensions of the reference image, this forming the torso of the character.


Once the torso was finished I then moved onto the arm, which was done using the same method as the torso, yet being resized to match up to the reference images proportions. The only difference with the arm and the torso in terms of being a polygon other than the scale, is the added two rows of vertices to allow for the arm to be more detailed.


Next i made sure that the arm was in the correct place, and deleted the top row of faces from it, this is where the shoulder would normally be. However in order to connect the arm to the shoulder you have to extrude the faces from the side of the torso to create the shoulders and something for the arm to connect to.
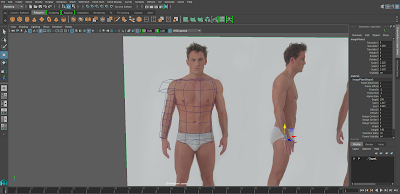


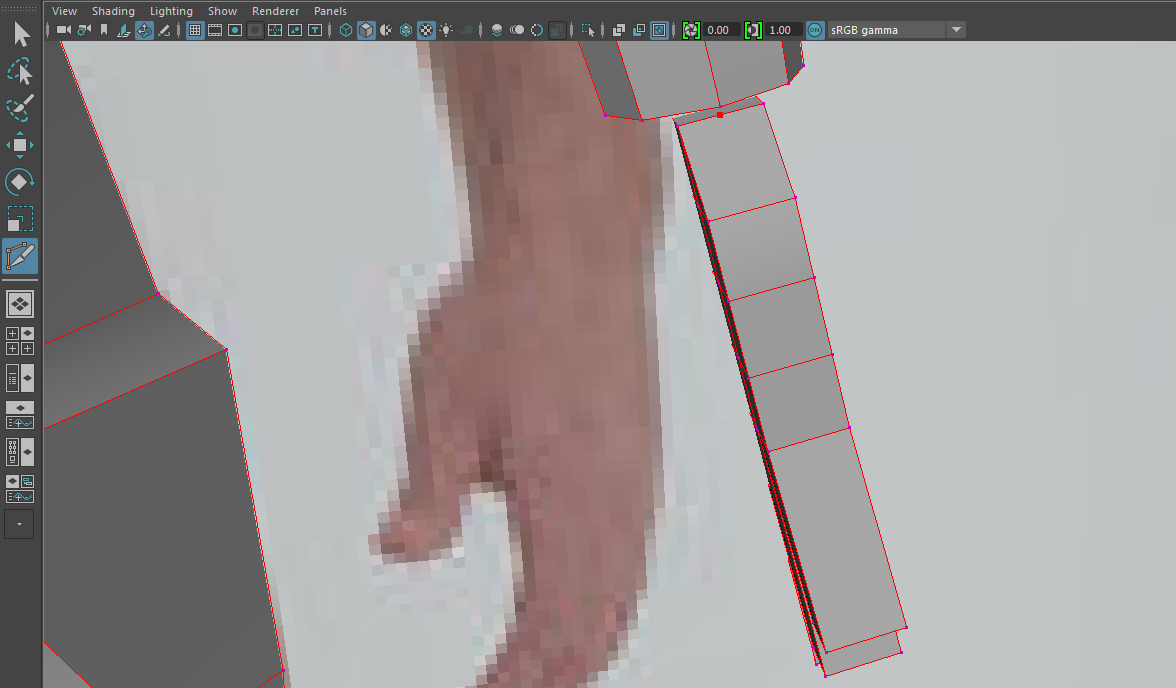
Here is the faces of the torso being extruded to their position. By extruding the faces twice, it creates enough verts for their to be a perfect match up between the arm and the torso/shoulder.


I then combined the meshes together once in place to turn them into the same object, but then however used the welding tool to add the vertices of the arm on the top to the bottom vertices of the shoulder in order to connect them as one object.


As you can see here i have also resized the shoulder so that it has the realistic proportions like the image reference. This was done by using the move tool and moving the vertices on top of the shoulder to the correct area, also rounding off the top of the shoulder.

Once i had completed the arm, i moved onto the leg which again was created in the same was as the torso and the arm, using a move tool to match up the vertices to the image reference.


You can see here i connected the leg to the lower portion of the torso, thus forming the pelvic region. This was again done in the same way as i connected the arm to the shoulder, using the welding tool.


After finishing the leg i decided to mirror the body so that i could see a full body, a trick used to make sure that the left and right side of the body are symmetrical without having to make both sides separately.  To do this i went into the mesh tab and chose mirror geometry whilst having my mesh selected.


Here is the mirrored piece, sometimes you may have to adjust the geometry however as it does not always match up to the reference image.


Once i had mirrored my body i then started work on the hand, which is made from a square re-scaled and having 4 subdivisions in height and weight to allow me to extrude the fingers from the faces.


After extruding the fingers on the hand i then matched it up to my reference image as best as possible ready to connect it to the arm/body.


 By adding another vertex using the bevel tool i was able to connect the hand to the arm like i connected the other body parts, using the weld tool.


 The same was also done with the feet, modelling them off of a square that i had extruded at the ends in order to create the toes then elongated in order to produce some long clown feet.
For the head i used a cylinder like i used for the torso, however moulded it by extruding the faces at the bottom to create a long chin, with the head however one i had connected it and was done, turned it along with the rest of the body into a smooth mesh, this making the model look a lot better as it has the realistic smooth texture/sculpt that a human would have.


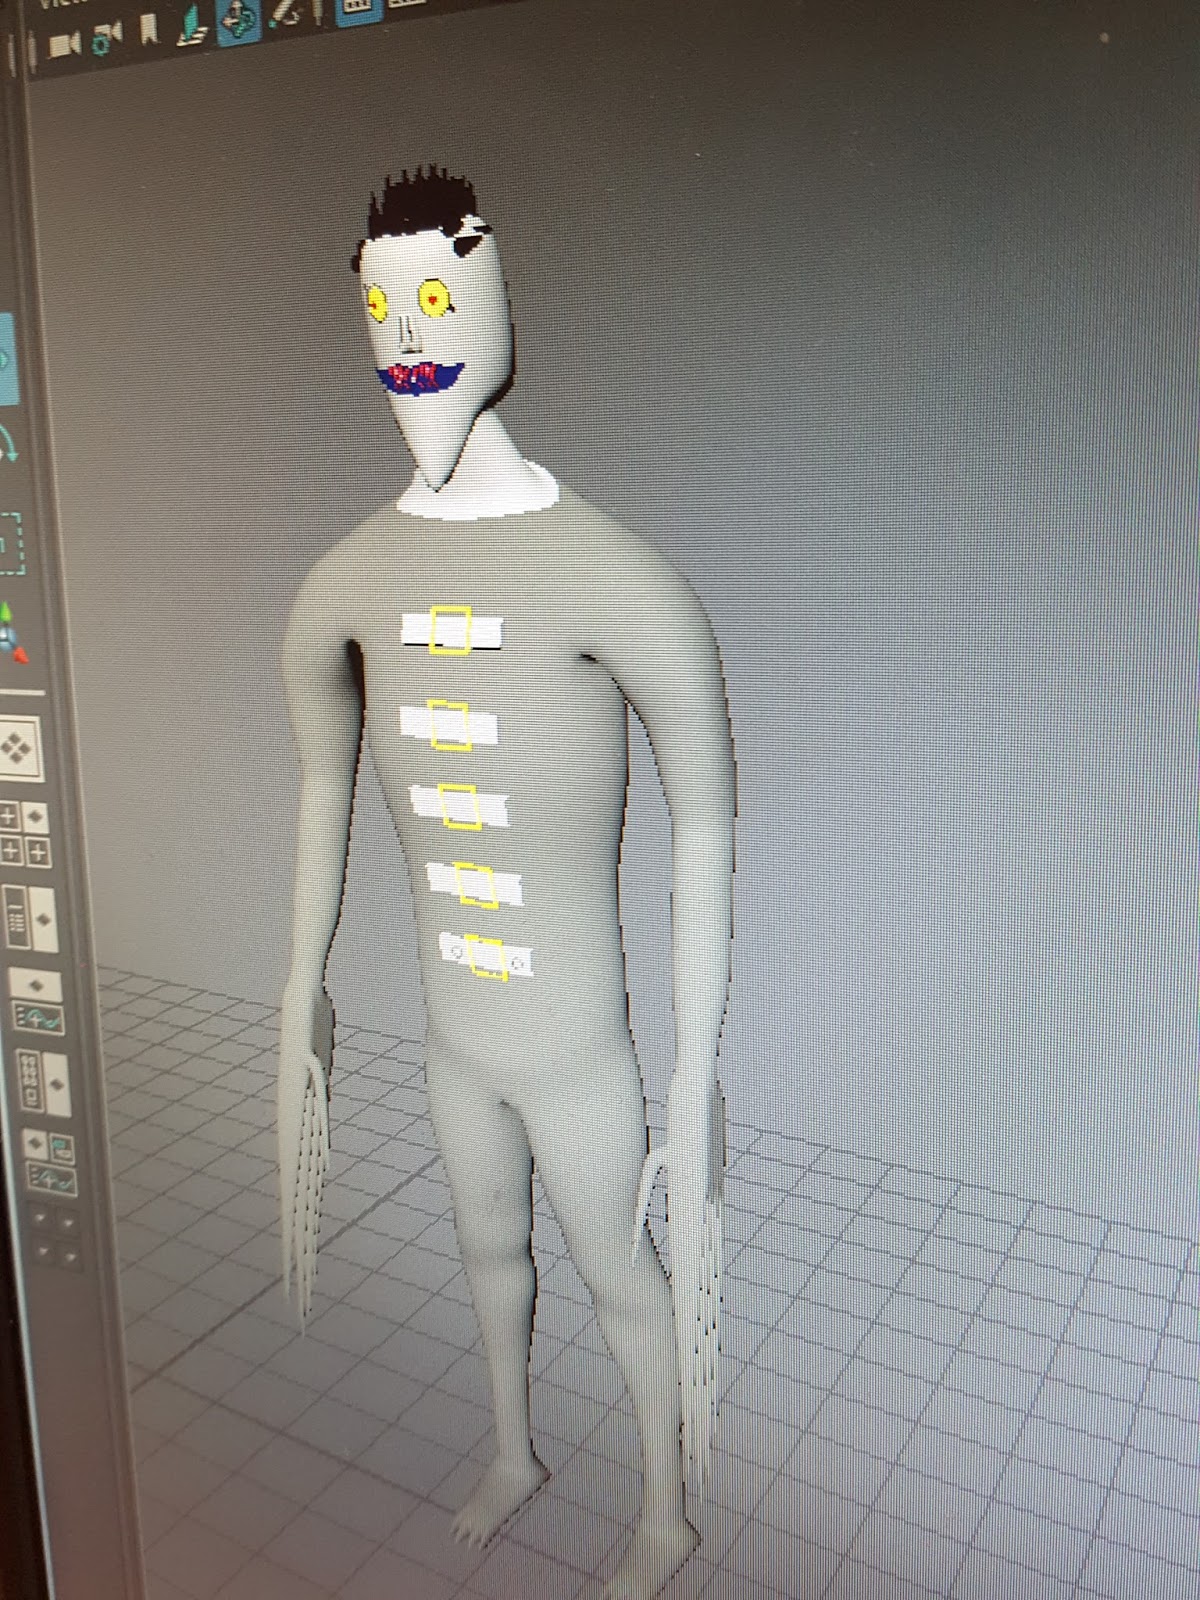
The final product that I ended up with was a clown that will be used in my game, i have elongated his fingers to simulate knives and also placed him in an orange jumpsuit to represent him being a prisoner that was once human, but has since been turned into a psychopathic clown who is on a murderous rampage. I am happy with how the initial model turned out, as it replicated the look i aimed for. I wanted to create a large lanky clown, that would tower over the normal player, in order to do this i raised his height in comparison to the initial reference image to make sure he was tall with the scale tool. The structure of his head represents a typical clown look, through the extrusion of his chin making it longer than that of a normal person. The art style is cel shaded like my game and was done through changing the colours on the specific faces of the model, such as the torso/arms, hands, head and feet to create the clear sections of his clothing. If i was to re do this character i would most likely spend more time on his head, as that is the most basic part of the model and does not have too much detail. Adding more detail would overall improve the model and make it look more realistic.




Friday, 25 November 2016

Unit 69 - Concept art explained

Unit 69 - Concept art explained

Concept art is the beginning process of creating a game, it allows the creator to try out various ideas and come up with new ideas that they can then use to model their characters off. Concept art can be in the form of a game environment, character or weapon/objects that will be in the game.

Concept is also used for movies, tv shows or cartoons in order to establish what a character looks like, from raw ideas, allowing a visual representation of the idea to come to life and give a physical presence to it.

Environment:


Here is some environment concept art, from this creators are able to have a visual representation of an idea, and are able to use this to create the 3D environment in which the game will be created. Not only is concept art used for the creation of a game, but also the marketing of a game, as it can be used before the game has been created in order to create a want for the game and give people a visual representation of the game giving them something to look forward to.

From this example of concept art for the game Assassins creed you can see how in depth concept art can be. This example highlights the use of lighting in games, as you can see the light source provides light to the centre of this quarry to the right of the image, whereas heavy shadows are cast to the left. This adds depth to the image and allows for a more realistic bit of concept art.

Along with the lighting that is shown, the image also allows you to see the size of the character compared to the environment around him, this allowing the viewer to work out how large the cliff side should be in comparison with the player.

I like this concept art as it does well to establish the landscape and give an example of what kind of environment to expect in the game. The use of the ambient lighting coming from the top down to light up certain areas but not the whole landscape does well to add mystery, leaving me to wonder what is in the caves. What i dont like about this concept art however is that not much is going on, it does well to establish an isolated character but doesnt do well to advance what will be in the game other than a character and where he will be, instead of other characters or objects such as weapons.


Stages of Concept Art


Concept art does not always have colour, instead concept art goes through various stages before it has a final form. The first stages are early drawings that allow for the artist to get the ideas out of their head, this can be in the form of just one section of a character or a basic drawing of a weapon, as you can see from the image above on the far left is a drawing of part of the main character in rough sketch, non coloured. This gives an idea of what the character may look like and helps to establish a look for the character, over time this is then adapted and changed depending on the reaction to the first drawings. With the middle two images you can see various other ideas were considered, again in black and white however this stage has a dull body drawing which gives a perspective of height for the character, finally on the far right is the used image for the character, in full colour and detail. This is then taken and used to create the character from, as you can see he has elements from each of the previous drawings, but has been finely tuned to detail taking the best parts from each.


Concept Art can also be used to identify what parts there are on game vehicles, for example this image shows what the specific parts are on this vehicle and also allows the viewer to understand why or what they do. Again with this image the first one is an early stage of concept art that is just an outline in black and white, then it is turned into a coloured image, here it has a character next to the vehicle to give a sense of size.

This is good concept art as it shows not only what the vehicle is but has clear labels as to what is what, this will help the game creaters to model it properly, with each part of the vehicle being created for its purpose rather than just the look.


Weapons


Concept art can also be in the form of weapons for a game or film. Drawing out the weapons for a game or film also allows the visual representation of an idea for a game or film, it also allows for more detail into what goes into the game/film. As you can see from the image above of the gun concept art, you can see different variations of the same weapon. This is something concept art allows game creators to do, they are able to look at the different possible variations to something and see which looks the best, then they will go onto creating the favourite choice. This was something done often by the move franchise star wars.

I like this piece of art for the reason that it shows the different variations allowing for a choice to be made on which gun will be used, this will help the game creater most as it explores all of the options for the weapon, it also has the drawing of the moveable handle in the bottom left which like with the star wars vehicle allows the game creater to see the practical uses for the weapon and bring it to life.


Mood

Concept art not only allows for a visual representation of ideas, but also helps to create a mood and give the idea life. For example, this image here shows a vast landscape which is picturesqe, it does well to demonstrate perspective with the mountains in the background that show the distance of the area. The atmosphere you get when you see this image is of solidarity, one character in a lonely area showcasing that the game this is drawn for will be a large scale game with exploration being the main feature, this image also establishes the look of the game which seems to be large areas that are mountainous with green valleys. This builds hype for a game more than just hearing of the idea, another element of concept art.

Conclusion

In conclusion concept art is a key part to game creation, elements of concept art can be seen at every stage of game production ranging from the pre creation, creation and then marketing after the game has been created. It is a needed part to games as it helps a game gain life and gives the basic ideas an image/a face that can be used to create the main components of the game.


Image References

http://conceptartworld.com/artists/raphael-lacoste/ - raphael lacoste

https://www.google.co.uk/search?q=star+wars+concept+art&safe=active&espv=2&biw=1920&bih=974&source=lnms&tbm=isch&sa=X&ved=0ahUKEwjX2K_LisTQAhWrC8AKHa1qBt8Q_AUIBigB#safe=active&tbm=isch&q=star+wars+battlefront+concept+art+drawing&imgrc=Oj3Gx9E15O_IIM%3A

https://www.google.co.uk/search?q=concept+art&safe=active&espv=2&biw=1920&bih=974&source=lnms&tbm=isch&sa=X&ved=0ahUKEwjf6oethcTQAhWiKcAKHY3XCosQ_AUIBigB#safe=active&tbm=isch&q=concept+art+disney&imgrc=ANK20iYMXXnMdM%3A